
Video walk through on this feature
What You Can Do- Import any PDF (e.g., a Buyer's Order) as a reusable document template.
- Bind template fields to AutoRaptor data so they auto-fill when a document is generated.
- Add interactive fields: radio buttons, dropdowns, checkboxes, and signature fields.
- Generate a completed document directly from an upsheet.
- Edit generated documents inline and send them for eSignature by email, text, or both.
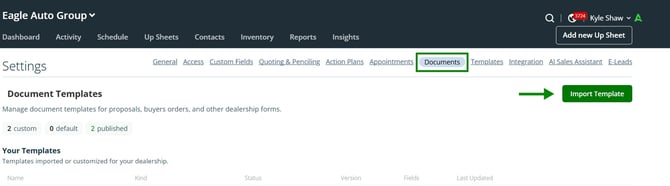
- Go to Backend Settings.
- Navigate to Documents and click Import.
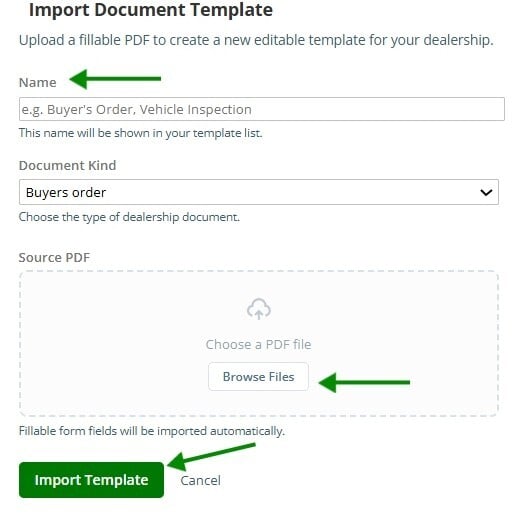
- Define what kind of document it is (e.g., Buyer's Order).
- Browse your computer and upload the file as a PDF.
- Give the document a name and click Import Template.
Note: The uploaded file must be a PDF.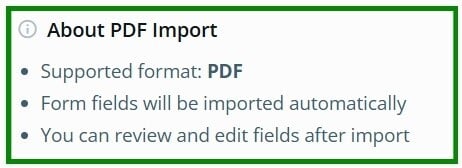
After importing, select Open Editor to bind the fields.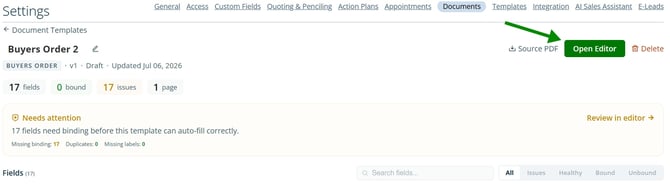
Binding connects a document field to an AutoRaptor value so it fills in automatically when the document is generated. Go through each field and assign the matching AutoRaptor value where one exists. If no AutoRaptor value matches, leave the field as freeform.
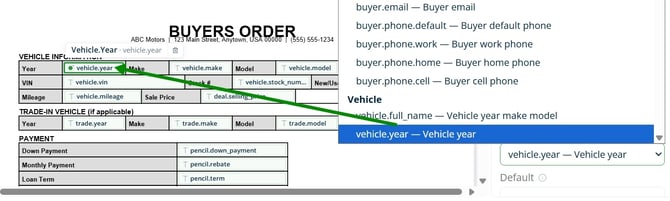
Tip: Use the Penciling feature to pull fees into your document. If you have a quote worked up on the upsheet, values like selling price will auto-populate.
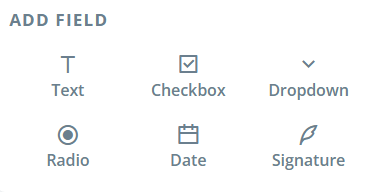
The editor lets you add or replace fields with the following types:
- Radio buttons
- Dropdowns
- Checkboxes
- Signature fields
Before saving and publishing, check Issues to either bind remaining fields or leave them as manual inputs.
Once all fields are mapped, click Save, then Publish.
- If a field has no binding key, you'll see a warning.
- If a field is set to Not Binding, this is expected and not an error.
- Navigate to the relevant upsheet.
- Click Generate Document.
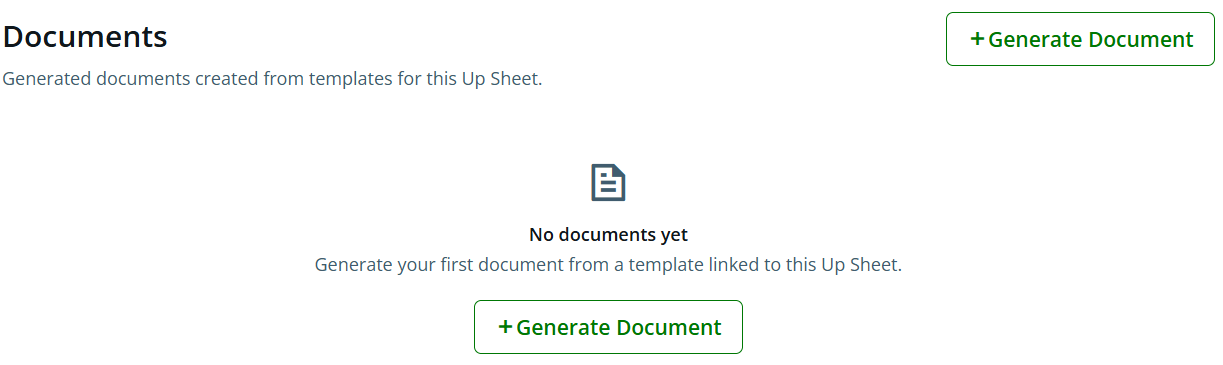
The completed document is created using the field bindings and data configured in the template.
Editing a Generated DocumentAfter a document is generated, it appears in the Documents section of the upsheet.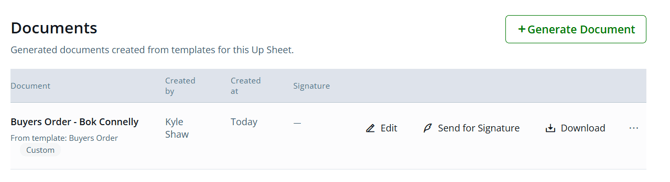
If any field values need to be added or corrected, select Edit to use the built-in Edit panel.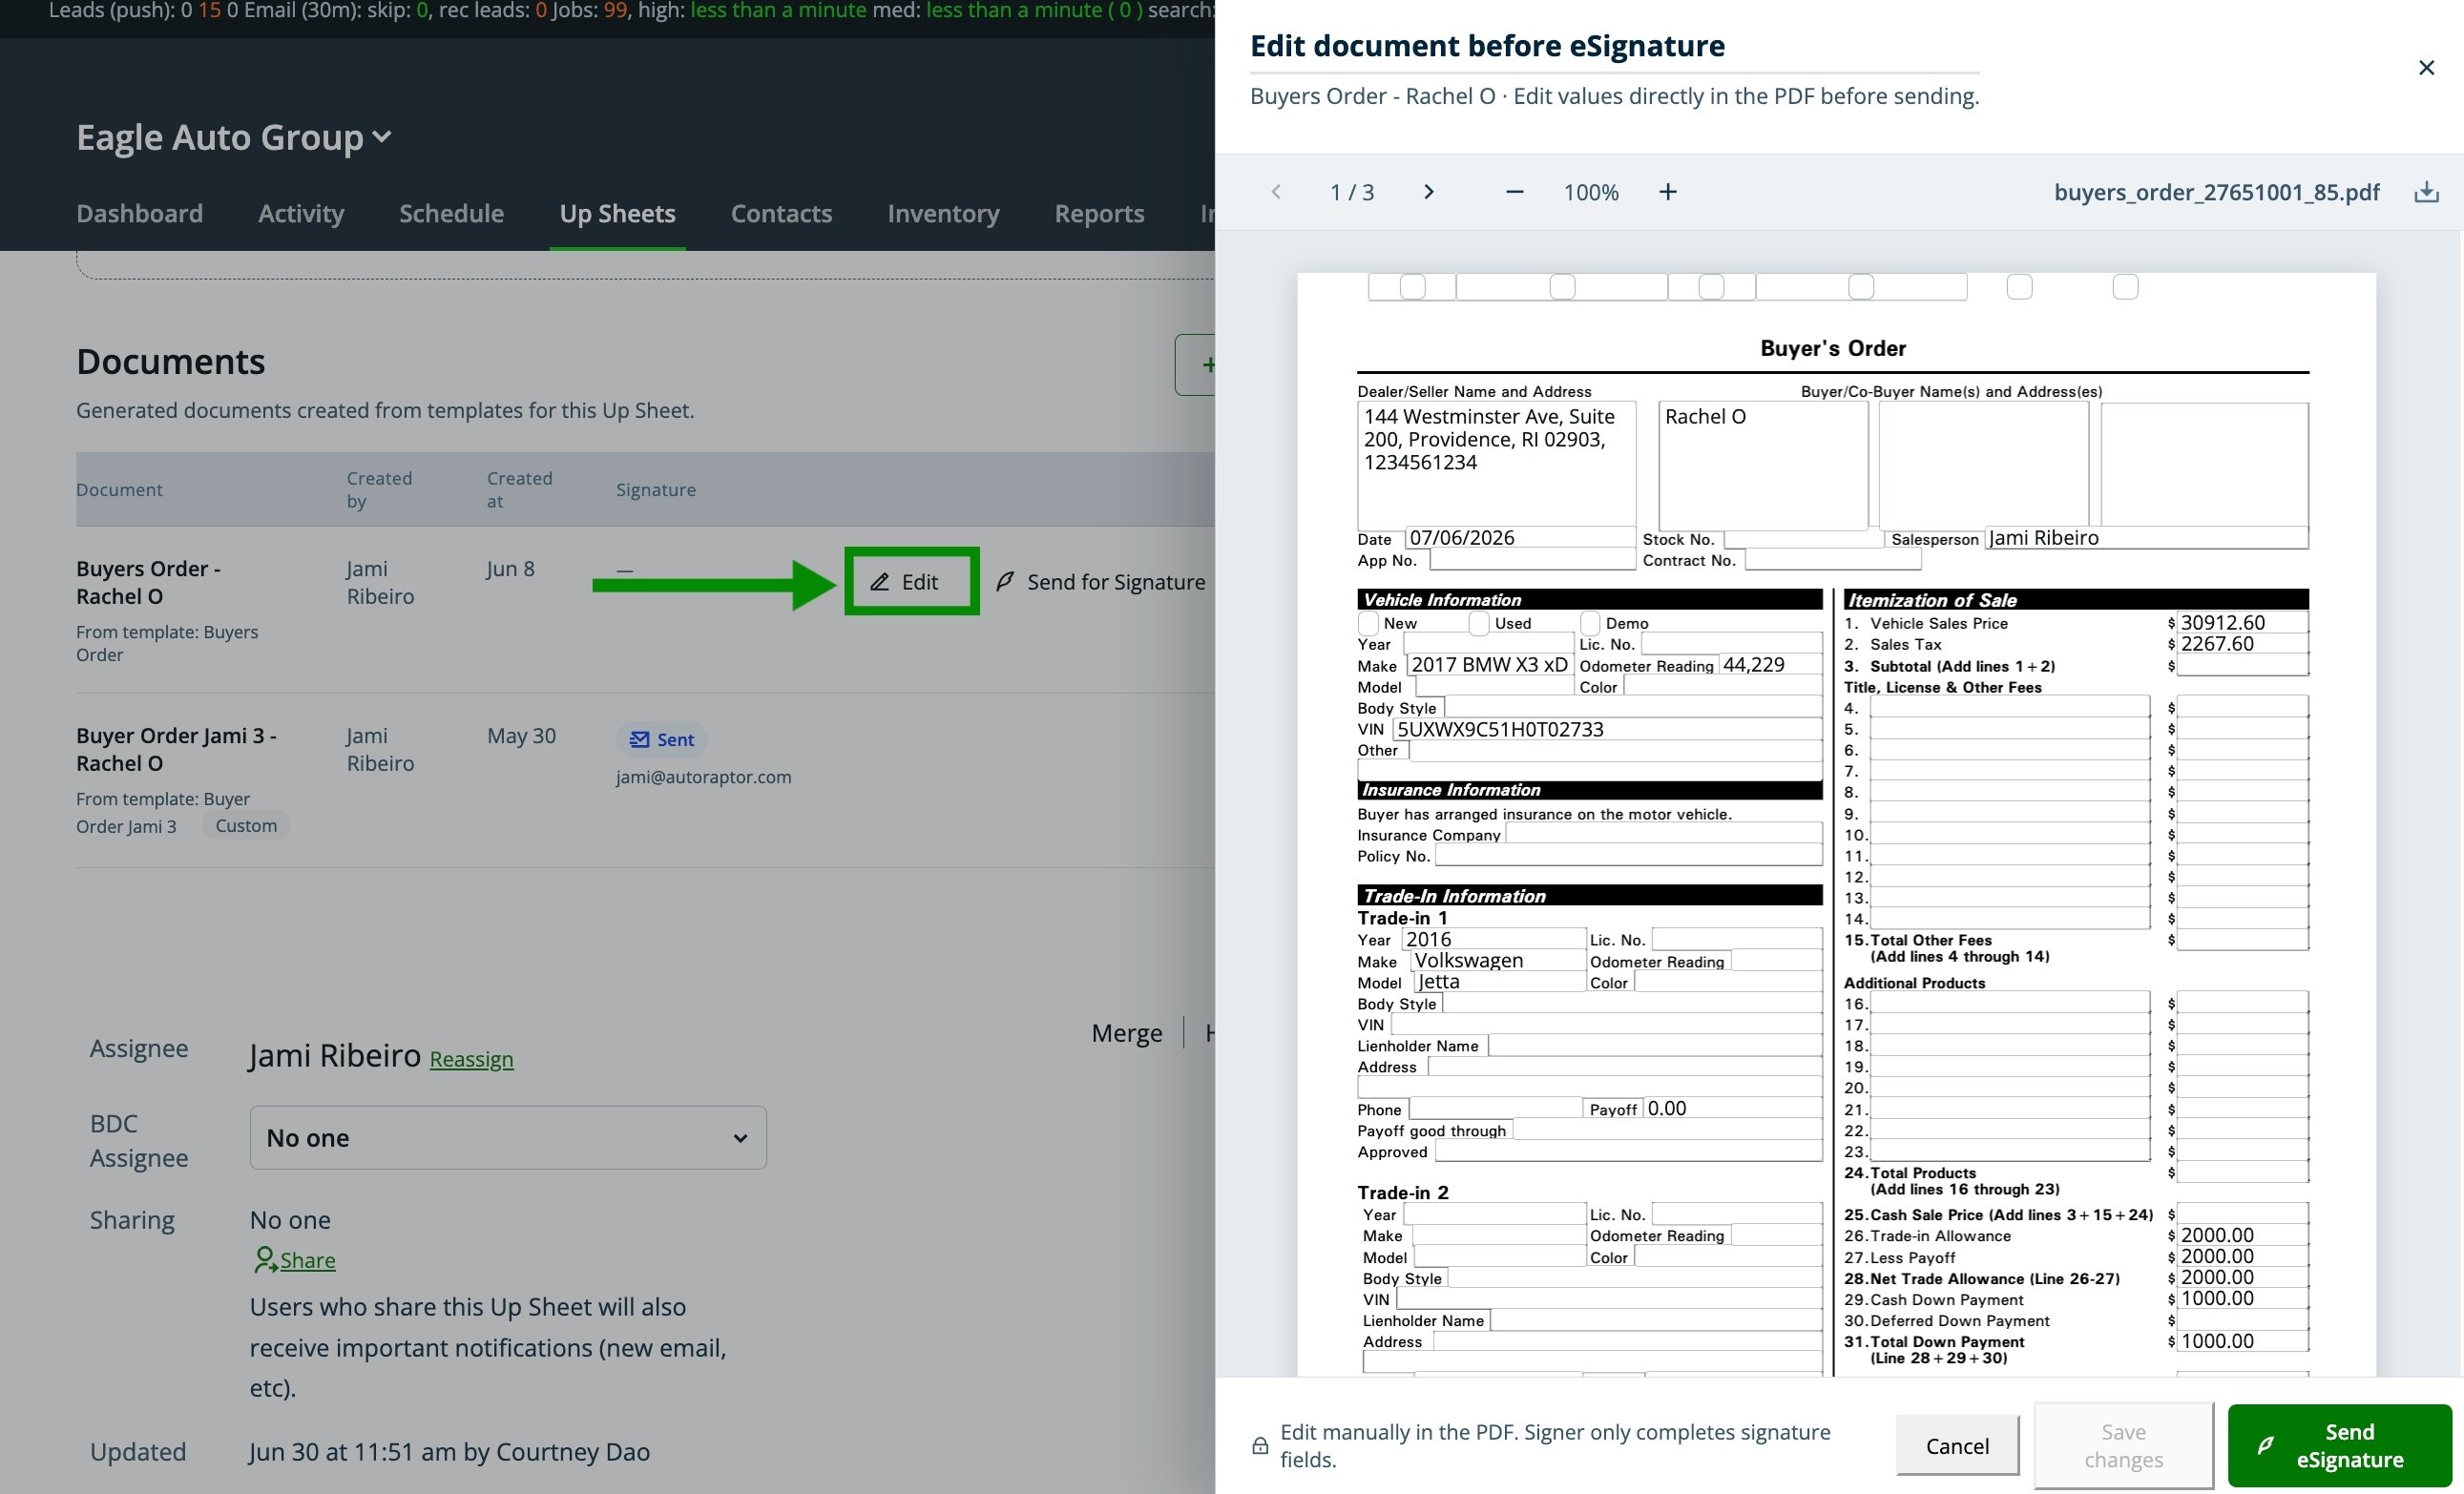
From the Edit panel, click Send for eSignature to send the document directly to the signer. You can deliver it by email, text, or both.
After the customer signs the document, the AutoRaptor user will see the document status update to Signed, along with the signer's name, email address, and the date the document was signed. The fully executed, signed document can then be downloaded using the Signed PDF link. 