Key Steps:
Step 1: Start a New Payment Deal
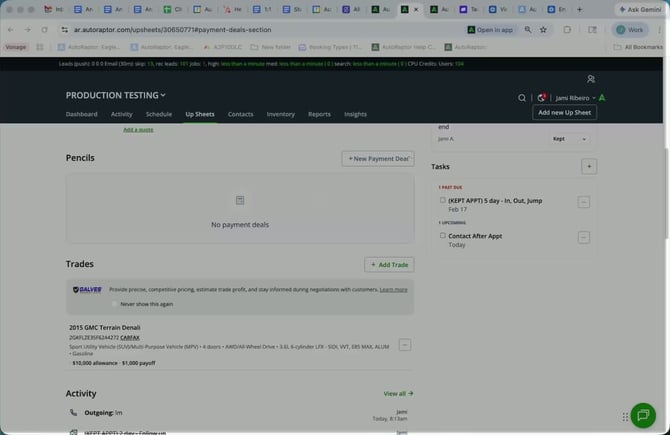
- Select New Payment Deal in Autoraptor.
- Review the vehicle information displayed.
- Change the mileage if necessary.
Step 2: Enter Buyer Information
- Check the buyer information section.
- If applicable, include co-buyer information from the upsheet.
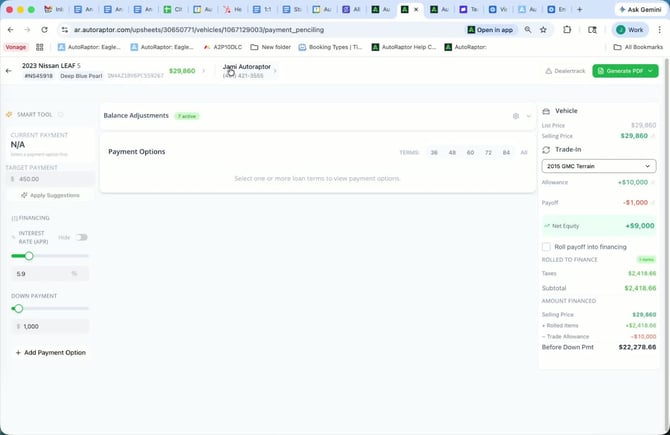
Step 3: Add Trade Information
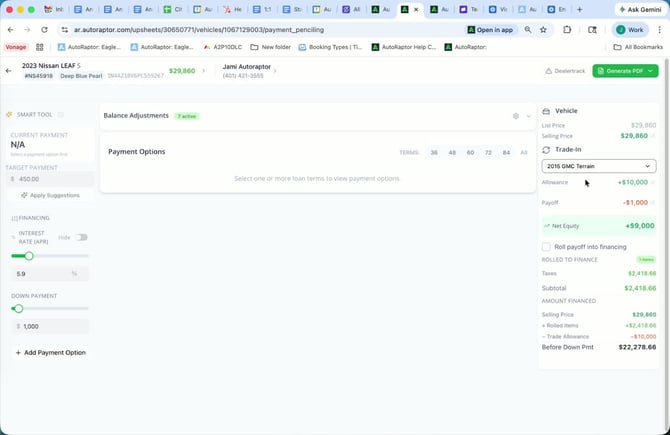
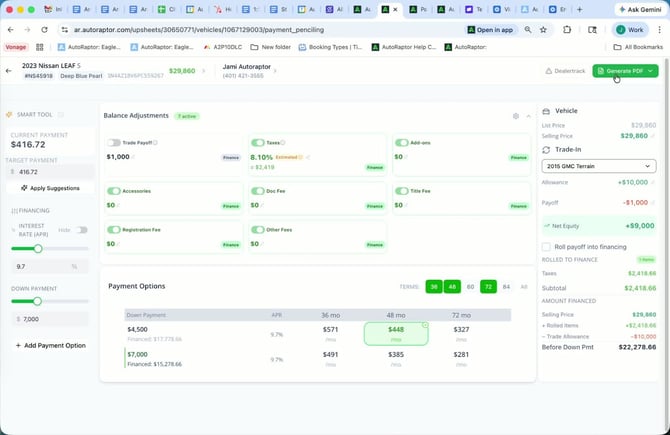
- Review trade information automatically pulled from the upsheet.
- If needed, manually add trade information in this section.
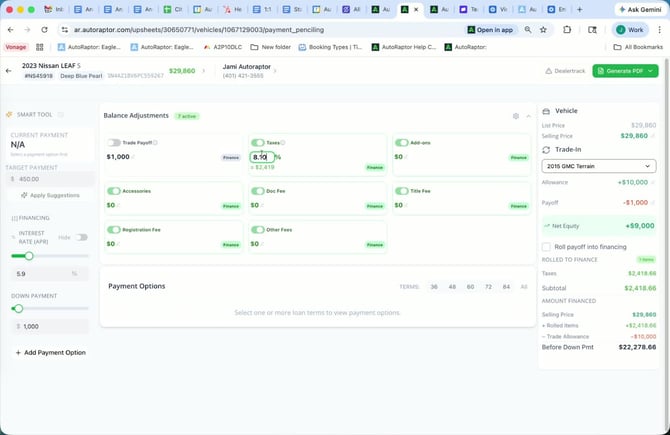
Step 4: Adjust Taxes and Fees

- Update taxes and fees as necessary.
- Managers and admins can make further adjustments to taxes, fees, and term options.
Step 5: Configure Deal Forms
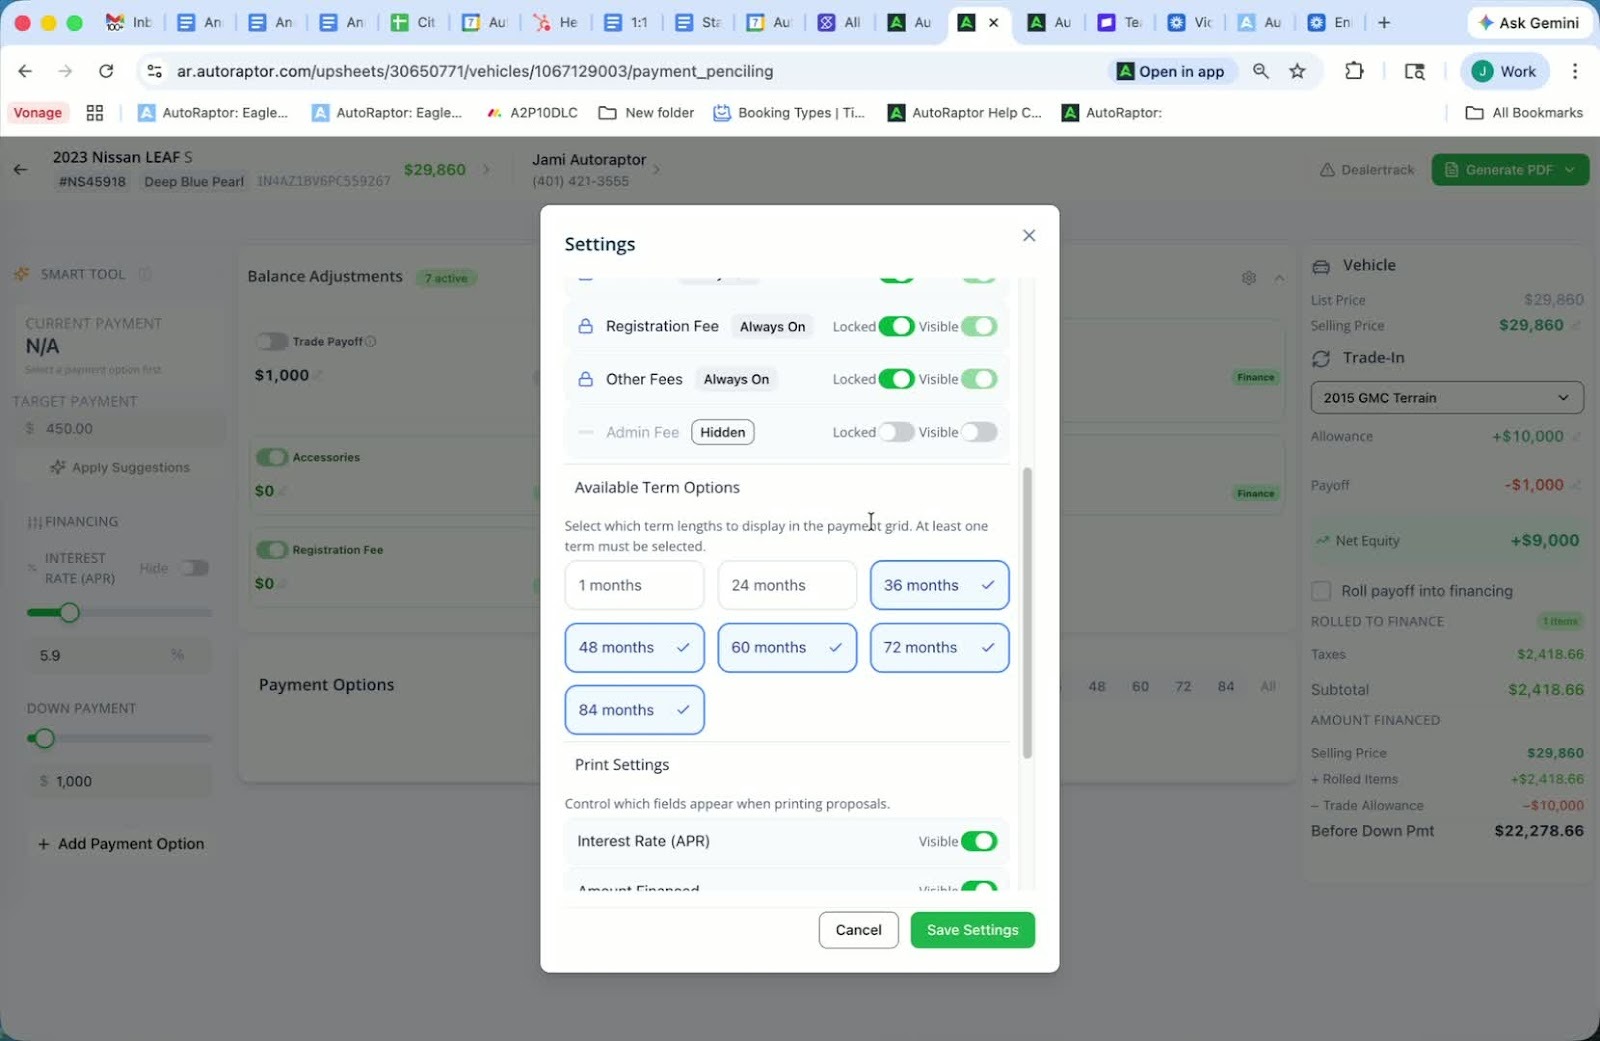
- Adjust the forms that will be printed or sent to the customer.
- Note that some options may be locked by admin settings.
Step 6: Fill in Fees and Taxes

- Ensure all fees and taxes are present on the front end.
- If not, manually fill in the required information.
Step 7: Set State Tax Adjustments
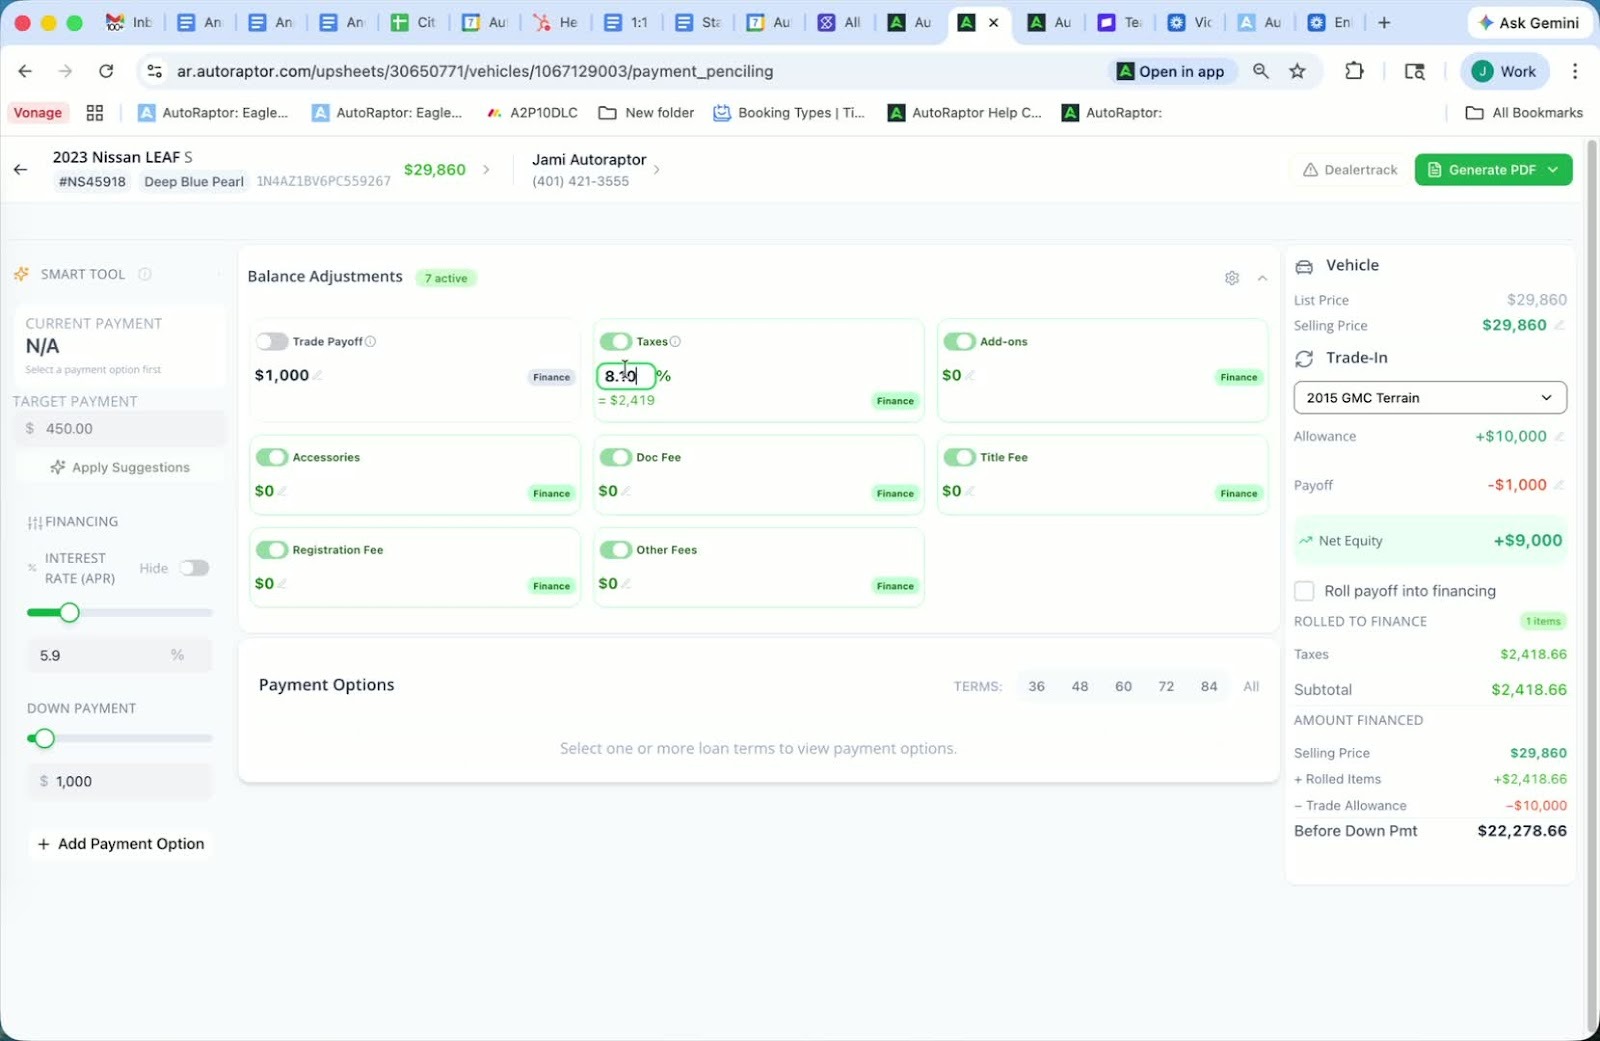
- Default taxes will be set to state tax.
- Adjust taxes based on the customer's location.
Step 8: Build the Deal
- Select the appropriate term options for the customer.
- Adjust the interest rate as needed.
Step 9: Input Down Payment and Additional Options
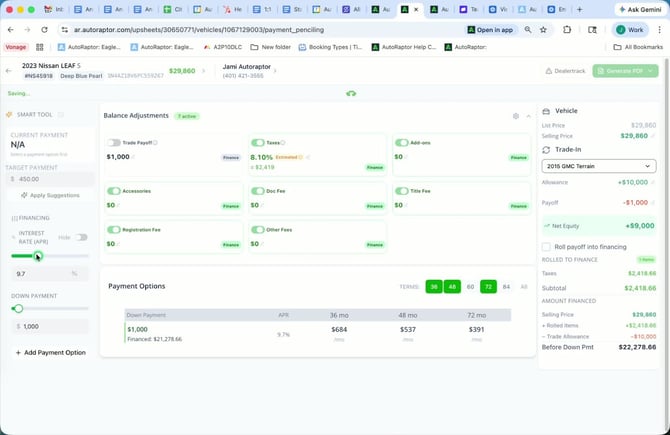
- Adjust the down payment amount.
- Add any additional options required for the deal.
Step 10: Generate Payment Options PDF
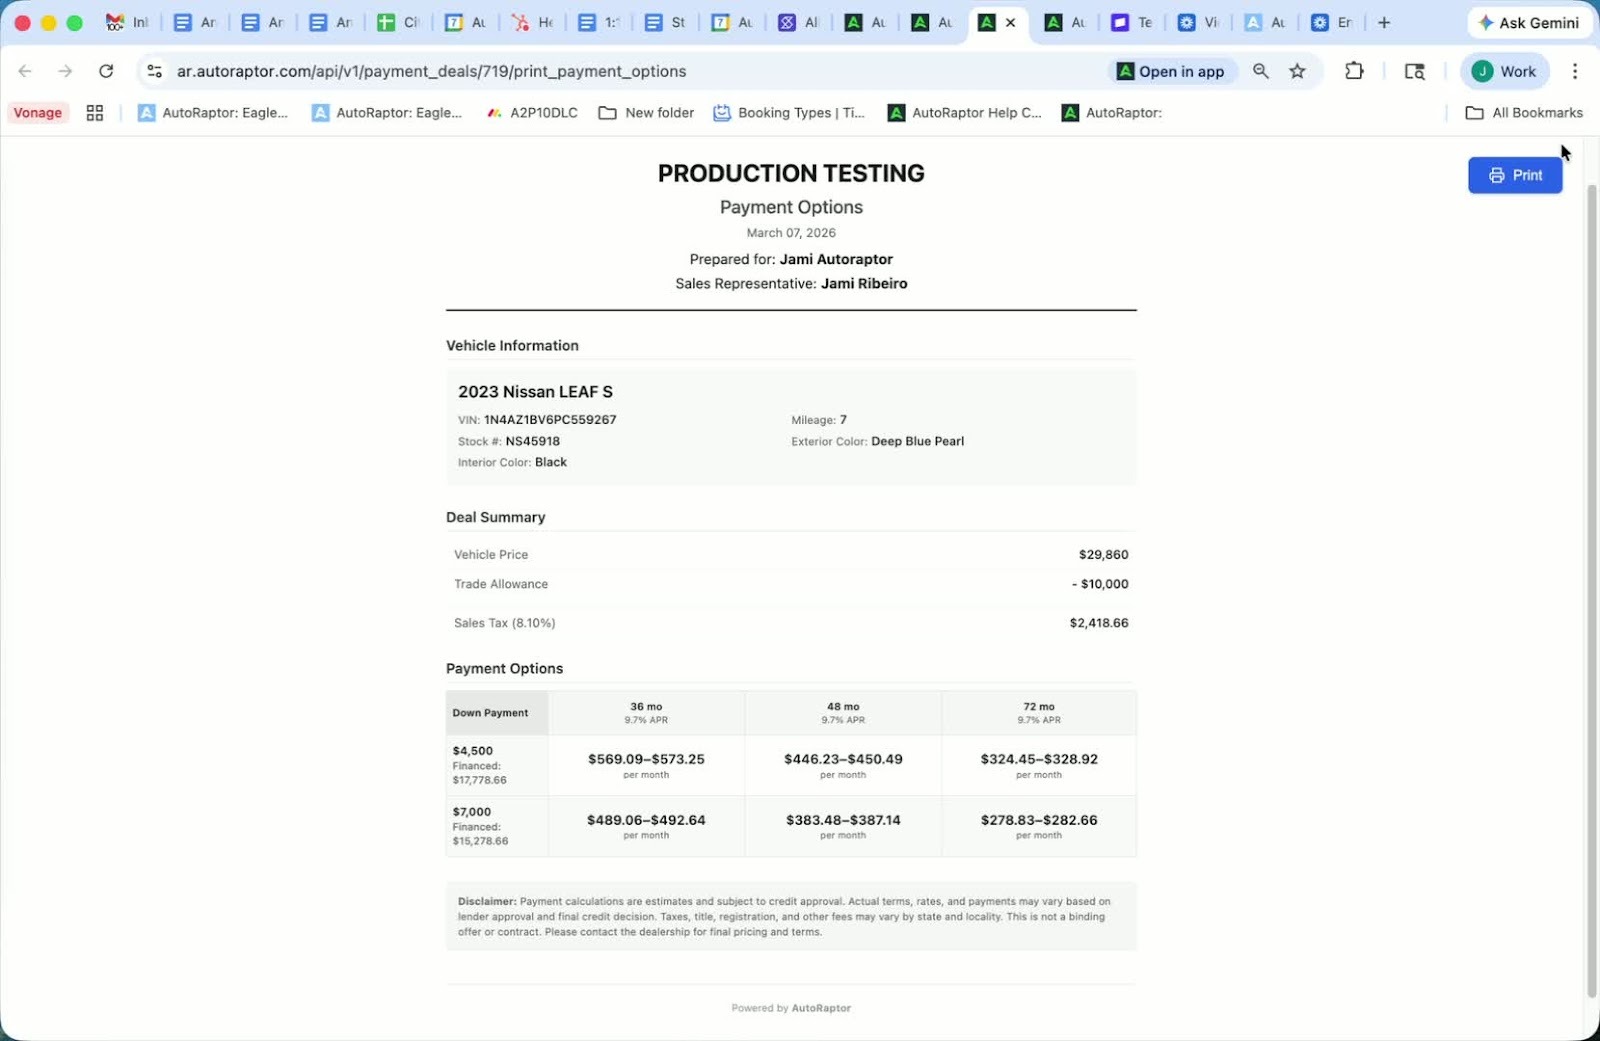
- Select Generate PDF Payment Options.
- Print or save the document as a PDF to share with the customer.
Step 11: Confirm Customer Payment Agreement
- Wait for the customer to respond with their preferred payment.
- Select the agreed-upon payment option.
Step 12: Print or Save Proposal
- Choose to print the proposal or save it as a PDF to send to the customer.
Cautionary Notes
- Ensure all information is accurate before finalizing the deal.
- Double-check tax and fee adjustments to avoid discrepancies.